February 2018 OCC/RWA Online Class: Scrivener Taught by Rebeca Schiller
December 23, 2017 by Linda McLaughlin in category Online Classes tagged as OCCRWA Online Class, Rebeca Schiller, Scrivener, writingUPDATED: 1/6/18
Ready to get your writing organized in 2018?
OCC/RWA’s February Online Workshop is Scrivener A to Z: Version 3, Mac Only with Rebeca Schiller. The class runs from Feb. 12 to March 9, 2018.

About the Class:
You’ve heard from other writers that Scrivener, the writing app, is the next best thing to coffee and chocolate. So you’ve downloaded it, tried to follow the tutorial, and you still can’t figure out the very basics of how to create a folder or a document.
Scrivener A to Z is a step-by-step guide with that will cover all the flexible and powerful features of this application. In this class, students will have the opportunity to learn how to use the newest features in the new upgrade–Scrivener 3. Students will receive daily instruction with easy to follow steps and illustrations on how to create folder and documents, navigate the Binder, writing and formatting in the Editor, how to create story boards in the famous Scrivener Corkboard, detailed outlines in the Outliner, and much more.
Instruction includes only the Mac version. Basic knowledge of MAC OS is required.
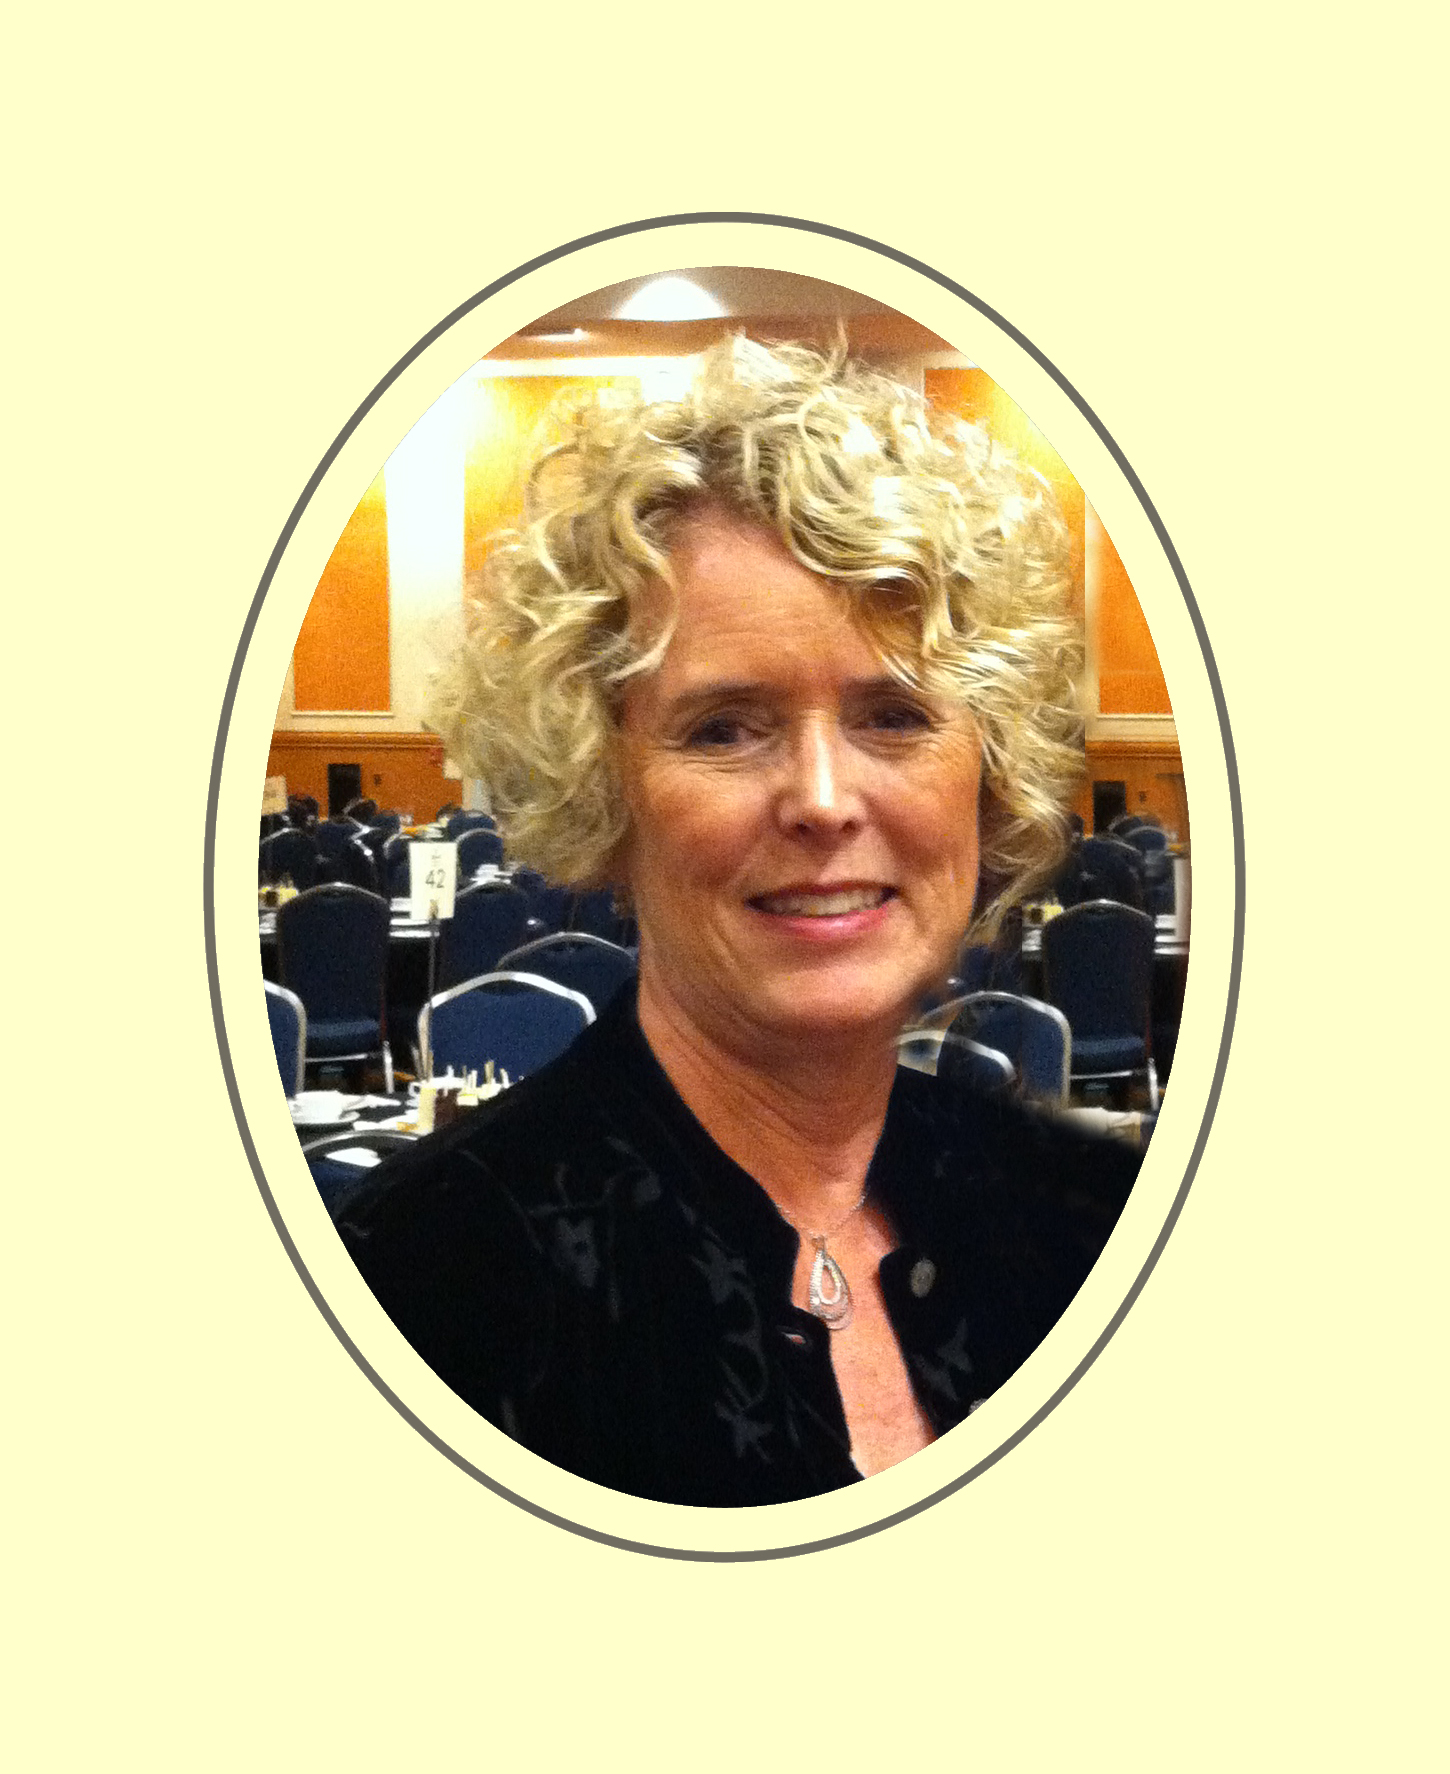
 About the Instructor:
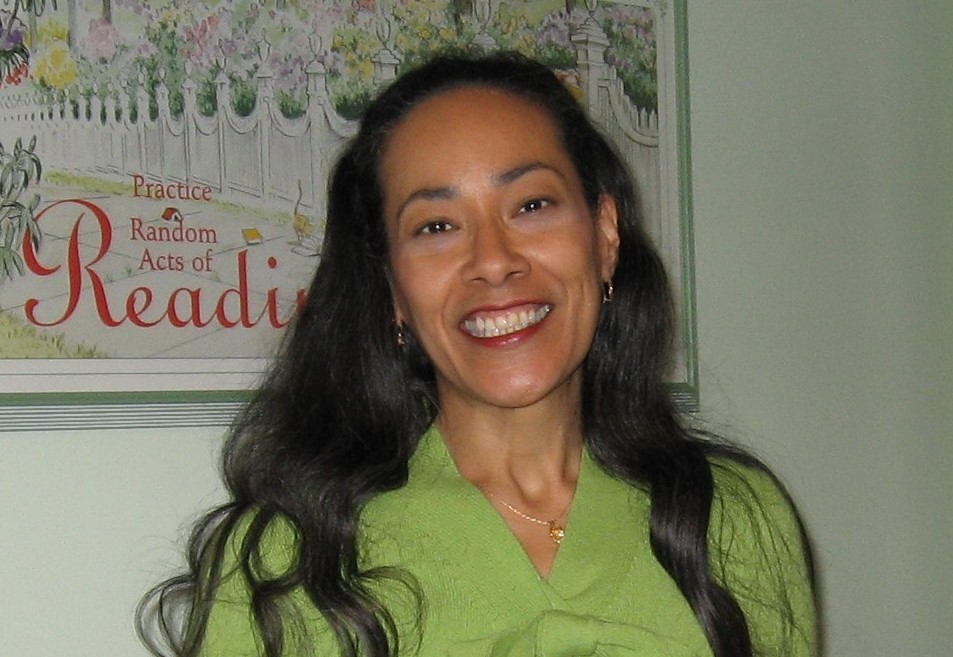
Rebeca Schiller is a freelance writer and the online editor of HAND/EYE Magazine. She discovered the magic of Scrivener via a friend’s Facebook update and photo of the Corkboard. Since October 2010, she’s been using both versions of Scrivener and avoids writing anything in MS Word (like this bio). She is the creator of the Simply Scrivener blog and writes about her writing trials and tribulations at RebecaSchiller.com. Rebeca is currently working on a novel.
Enrollment Information
This is a 4-week online course that uses email and Yahoo Groups. If you do not have a Yahoo ID you will be prompted to create one when you join the class, but the process is not difficult. The class is open to anyone wishing to participate. The cost is $30.00 per person or, if you are a member of OCCRWA, $20.00 per person.
Enrollment is a two-step process. In Step 1, you ask to Join the Yahoo Group. Step 2 is your payment via PayPal.
Sign up at http://occrwa.org/classes/feb-online-class/
Happy Holidays to all!
Linda McLaughlin
OCC/RWA Online Class Coordinator

Scrivener Basics for the Confused and Terrified Writer @ElenaDillon #amwriting #NaNoWriMo2017
October 24, 2017 by marianne h donley in category Events, Online Classes tagged as Elena Dillon, NanoWriMo2017, Online Classes, ScrivenerScrivener Basics for the Confused & Terrified Writer
Elena Dillon from the Confused &Terrified Writer has launched a FREE Scrivener class. The above links to a quick video overview of the free class! Just click the “watch promo” button.
[tweetshare tweet=”Free! Scrivener Basics for the Confused & Terrified Writer” username=”A_SliceofOrange”]
About the class:
We’re coming up on NaNoWriMo like a freight train and I know everyone is getting nervous and excited. In honor of National Novel Writing Month, I’ve launched a free Scrivener class to help get your first document either set up or exported into Scrivener along with tips and tricks on that make Scrivener a powerful productivity tool.
Along with this if you sign up for the class you will have access to my free Confused and Terrified Writer Facebook Group where you can ask questions, get help with your writing projects and we support each other through this fabulous but difficult journey!
It covers how to set up your first document along with tips and tricks on that make Scrivener a powerful productivity tool.
The course is “on demand” which means you can watch each video lesson when you want and as often as you want.
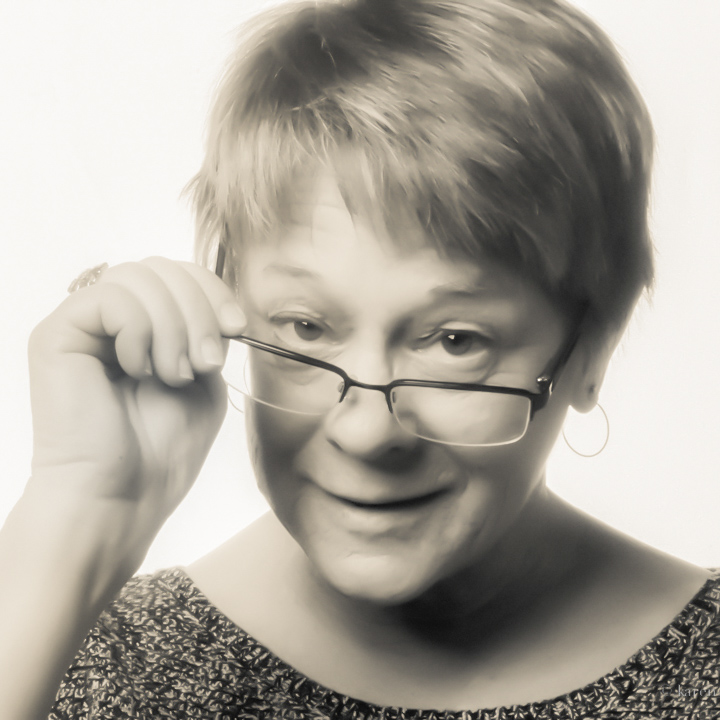
About your instructor:
I’m Elena Dillon, an author of the award winning Young Adult “Breathe” series. When I’m not writing, I love to help my author friends with technology and social media. I’ve taught the Social Media for the Confused and Terrified, Pinterest for the Confused and Terrified, Visual Content for Authors and spoken at numerous conferences, chapters and groups about social media and indie publishing.
Most of the time, I’m busy being a wife to my husband of twenty-six years, mom to my two grown kids and servant to my high-maintenance English bulldog, Brutus while I wait, not so patiently, for grandbabies.
And the link again is: https://confused-and-terrified-writer.teachable.com/p/scrivener-basics
0 0 Read moreScrivener for iPad/iPhone: September @OCCRWA Online Class
August 23, 2017 by Linda McLaughlin in category Online Classes tagged as OCC/RWA, Online Class, Rebeca Schiller, Scrivener, Scrivener for iOSNow that so many people are working on their iPhones and iPads, Scrivener came out with an operating system to do just that, and Rebecca Schiller will be here in September to show us how. This is an exciting development and I know people have been waiting for this class, me included!
 About the Class:
This course will teach you to write anywhere using Scrivener for iOS. Similar to Scrivener for Mac or Windows, Scrivener for iOS has a different user interface specifically designed for the iPad and iPhone. Learn how to use its unique features and work or edit your manuscript while on the go. This course will consist of ten lessonsfrom setting up Scrivener and Dropbox on your iPad or iPhone to syncing your work with your desktop version. You’ll also learn how to create projects, use all the features specific to the iOS platform and more!
 About the Instructor:
Rebeca Schiller is a freelance writer and blogger. She discovered Scrivener in 2010 and uses it exclusively for all her writing. She is the creator of the Simply Scrivener blog and writes about her writing trials and tribulations at RebecaSchiller.com.
Enrollment Information:
This is a 2-week online course that uses email and Yahoo Groups. If you do not have a Yahoo ID you will be prompted to create one when you join the class, but the process is not difficult. The class is open to anyone wishing to participate. The cost is $15.00 per person or, if you are a member of OCCRWA, $10.00 per person.
Enroll here: http://occrwa.org/classes/sept-online-class/
Linda McLaughlin
OCC/RWA Online Class Co-coordinator
0 0 Read more
Self-Publishing Online Class – Info From Sample Lectures
January 9, 2015 by A Slice of Orange in category Archives tagged as eBooks, It's Worth It, Kitty Bucholtz, Online Class, Scrivener, self publishing, self-publishingFrom Lecture 1
- do you want to publish in ebook only, print only, or both?
- what software will you use?
- what distributors will you use?

From Lecture 2
From Lecture 5
Go to File, New, Document
Under Intent on the popup screen, leave it as Print (the default)
Under Pages, make it a few more pages than you think it needs to be


Sign Up Today!

Assembling a Self-Published Book by Kitty Bucholtz
March 9, 2014 by A Slice of Orange in category Archives tagged as It's Worth It, Kitty Bucholtz, Scrivener, self-publishing, Smashwords Style Guide, Superhero in Disguise, Superhero in the Making, Unexpected Superhero Where Will You Distribute?

Incompatible Upgrades
A Professional Print Version
 Checklists Save Time
Featured Books


THE BAILEY DEVLIN TRILOGY: BOOK 1-3 (The Bailey Devlin Series)
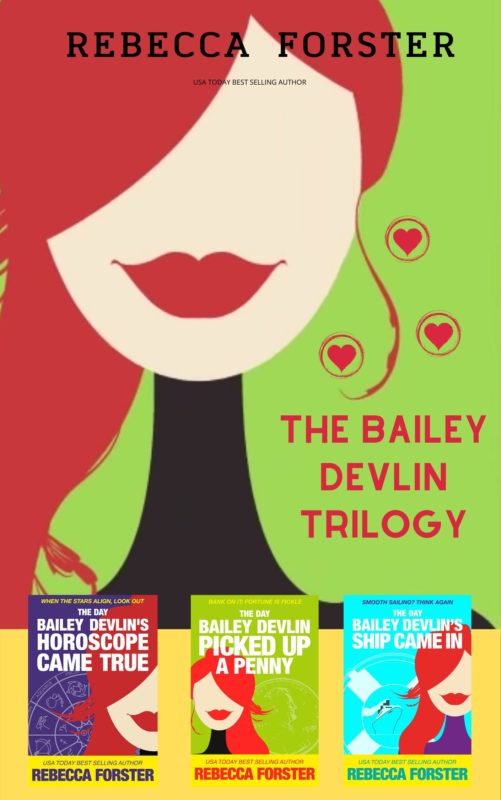
Bailey Devlin believes in fate. . .and luck. . .and fortune telling.
More info →